January 2010 Update: I was recently interviewed for an article on all-grain brewing recently published at the Fast Recipes web site. I also have a direct link to the article.
On with the show!
Starting the mash. 11 pounds of crushed barley and 3 gallons of 170 degree water
mixed into a lovely stew! The process begins.

Single infusion mash. The black thing is an insulated jacket that fits over the bucket
to keep the mash temperature constant for 60 minutes or more. During this time, starches in the malted
barley are converted into fermentable sugars.
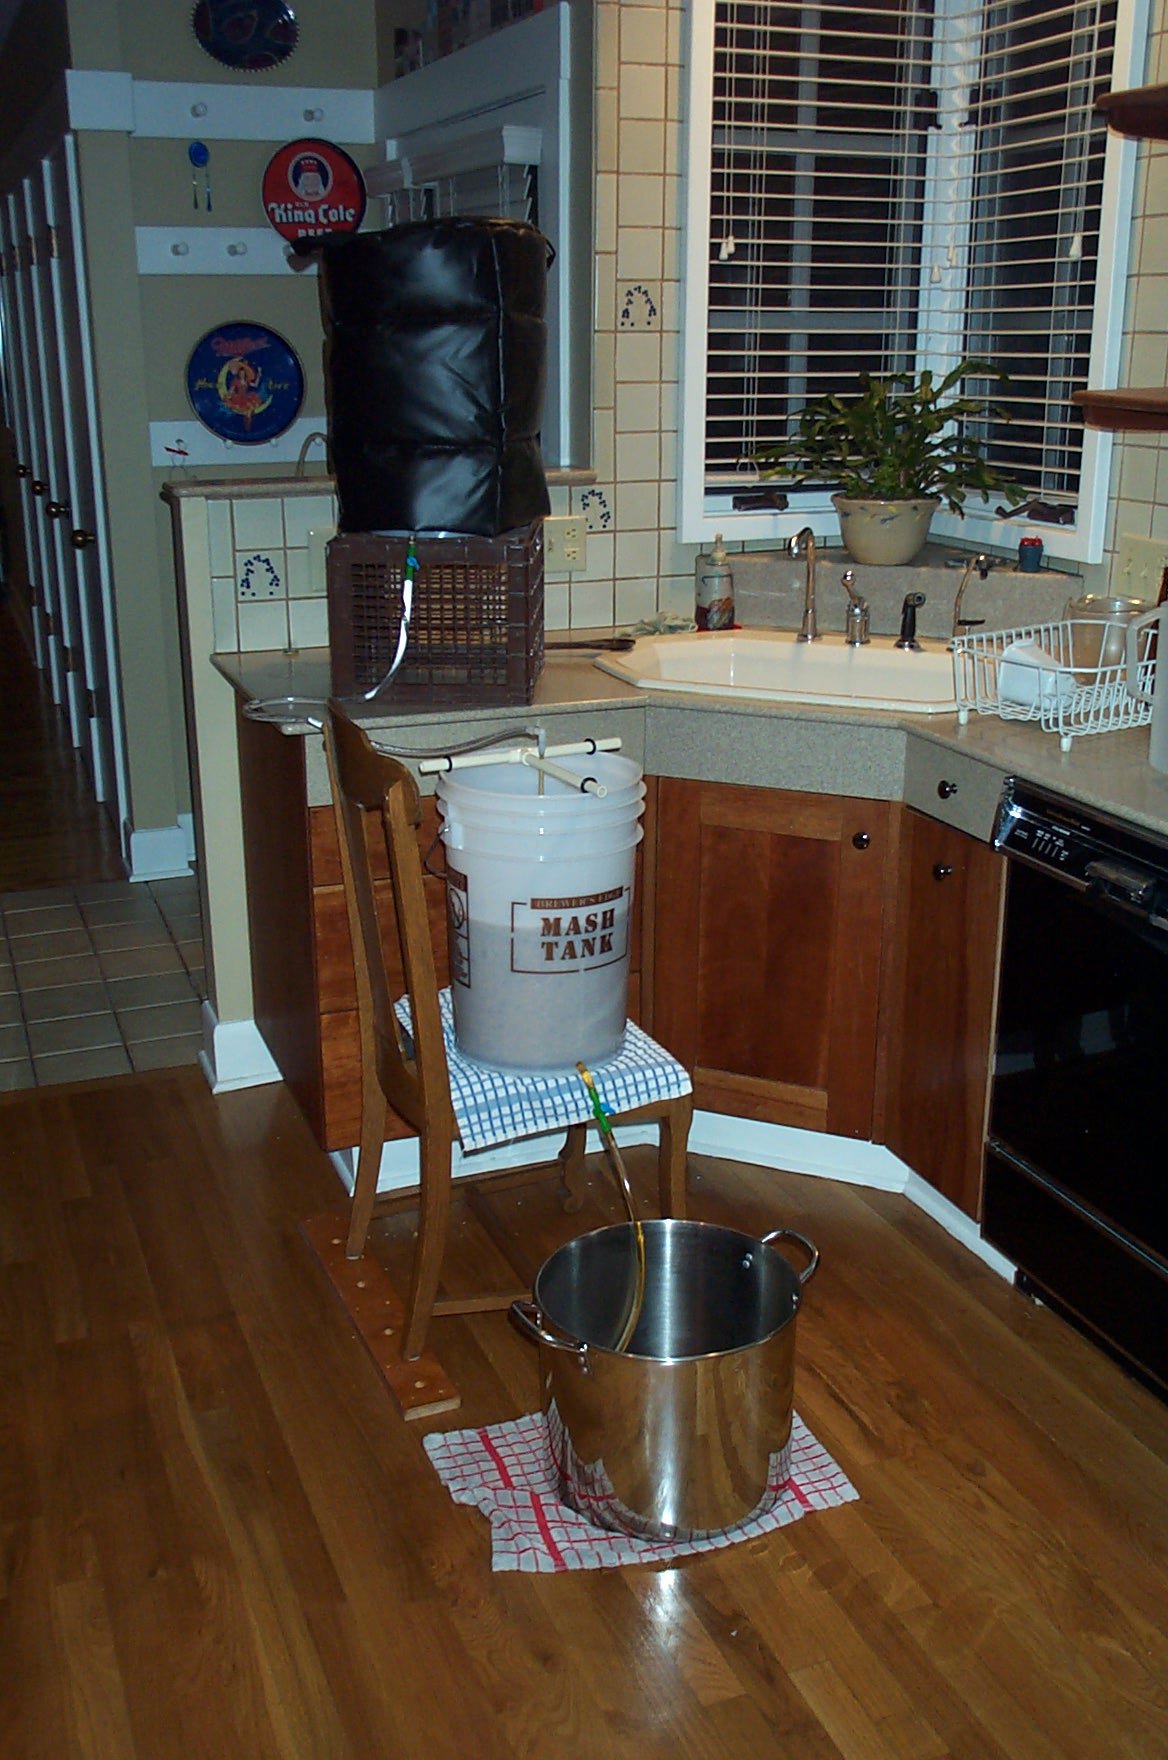
Sparging. Next we sprinkle more hot water through the saturated grains (to soak up the goodies) and into the brewpot.
This is gravity fed. The insulating jacket is now on a different bucket filled with more 170 degree water.
The mash bucket is in the middle on the chair. The brewpot is on the floor.
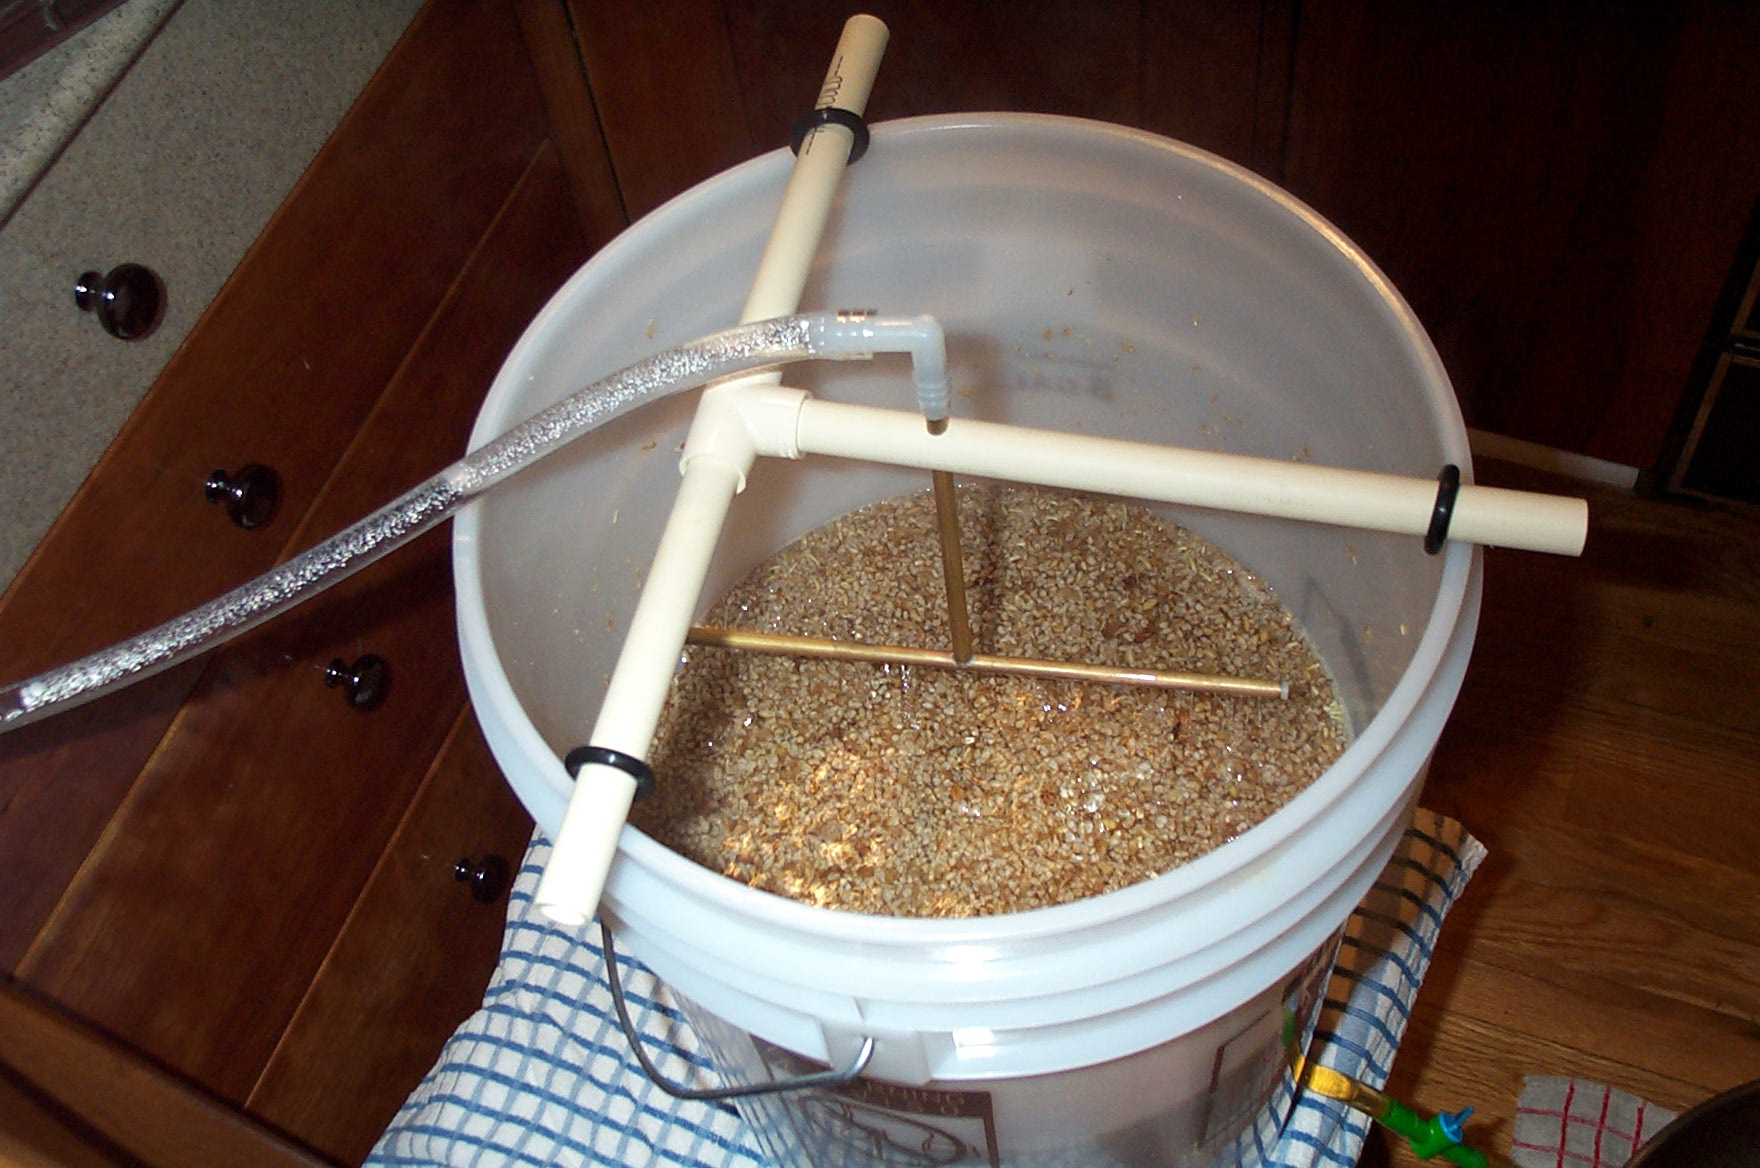
Close-up of sparging the mash. Here's what's going on in the mash bucket. Hot water trickles down from the sparge bucket and into the copper tubing. The horizontal section rotates and has little sprinkler holes on its underside. Water pressure causes it to rotate, thus assuring an even sprinkling of water over the surface of the mash. This process takes about another hour.

From mash bucket to brewpot. By the time the sparge is through, the brewpot will be mostly
full.
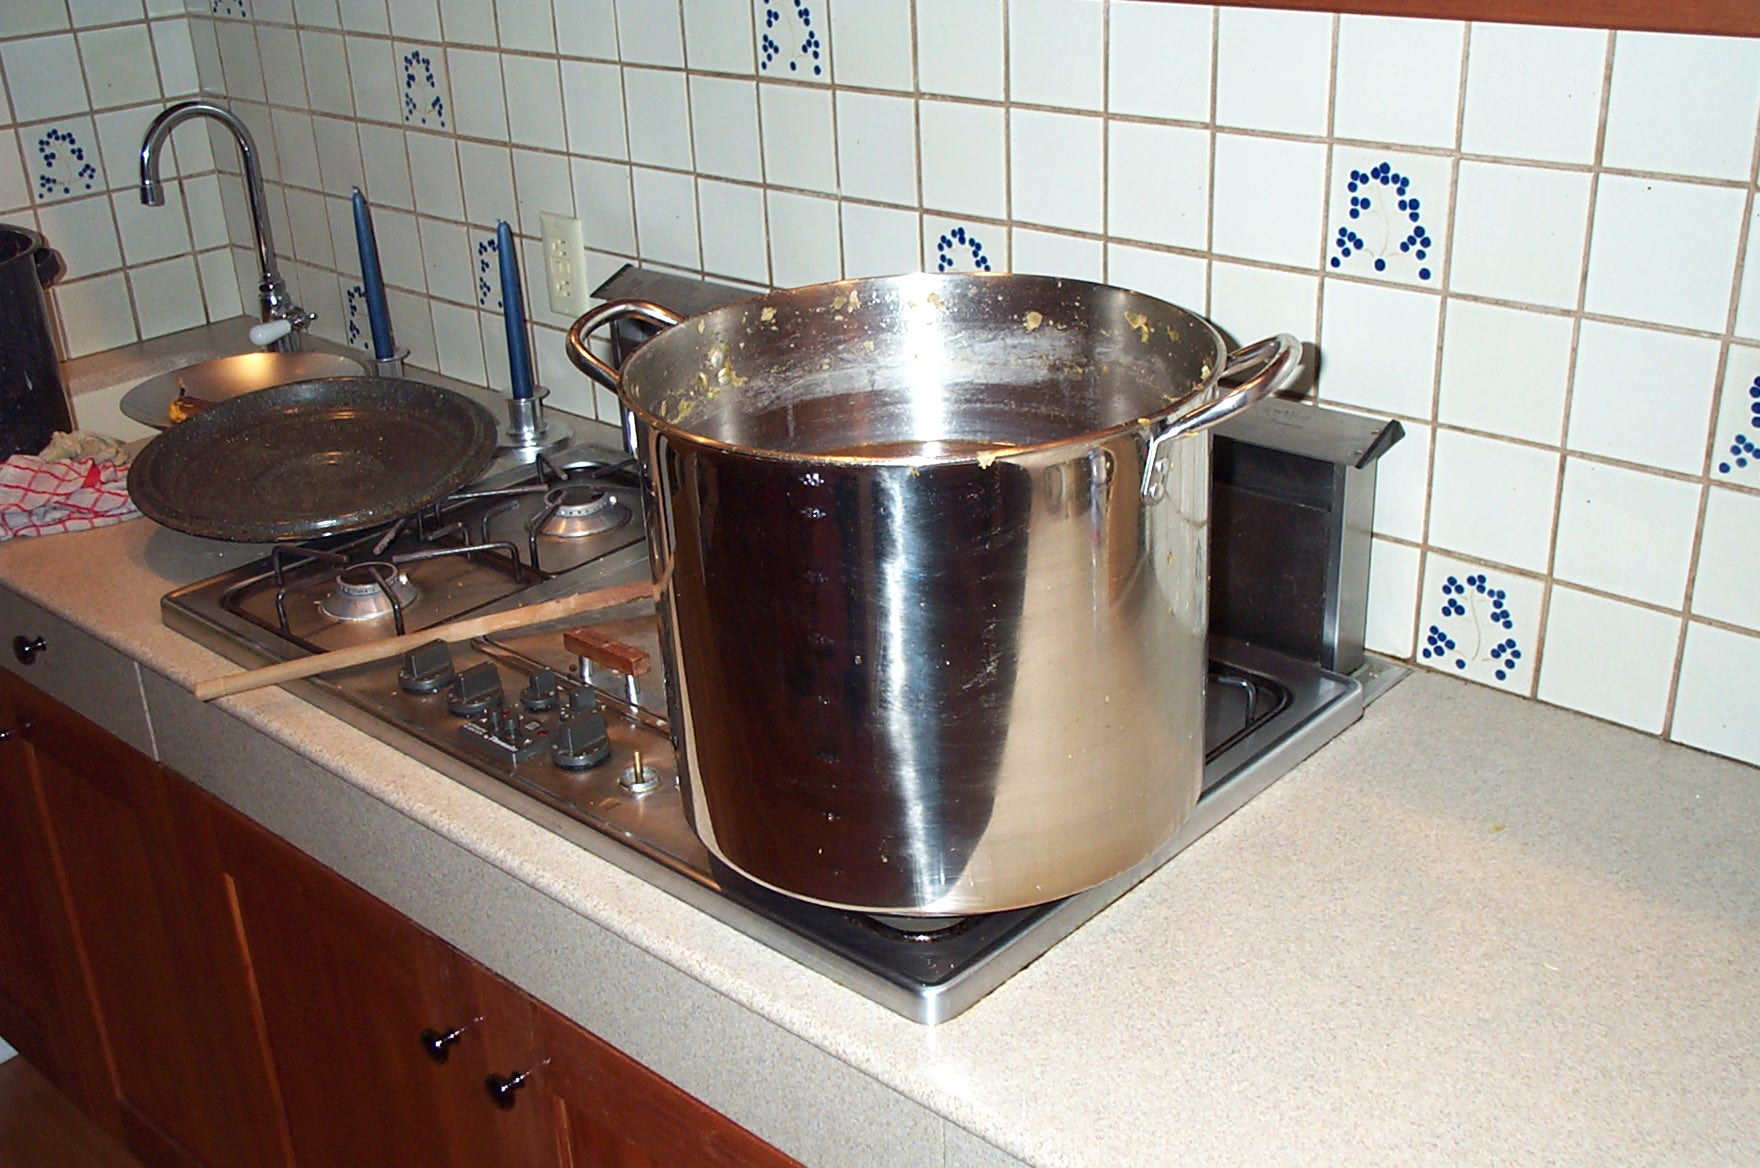
The actual brewing. Cooked it on the stove for 90 minutes. I added plenty of hops
at the beginning of the brew (for bitterness) and at the end (for flavor and aroma). Forgot to
take a picture of the hops.
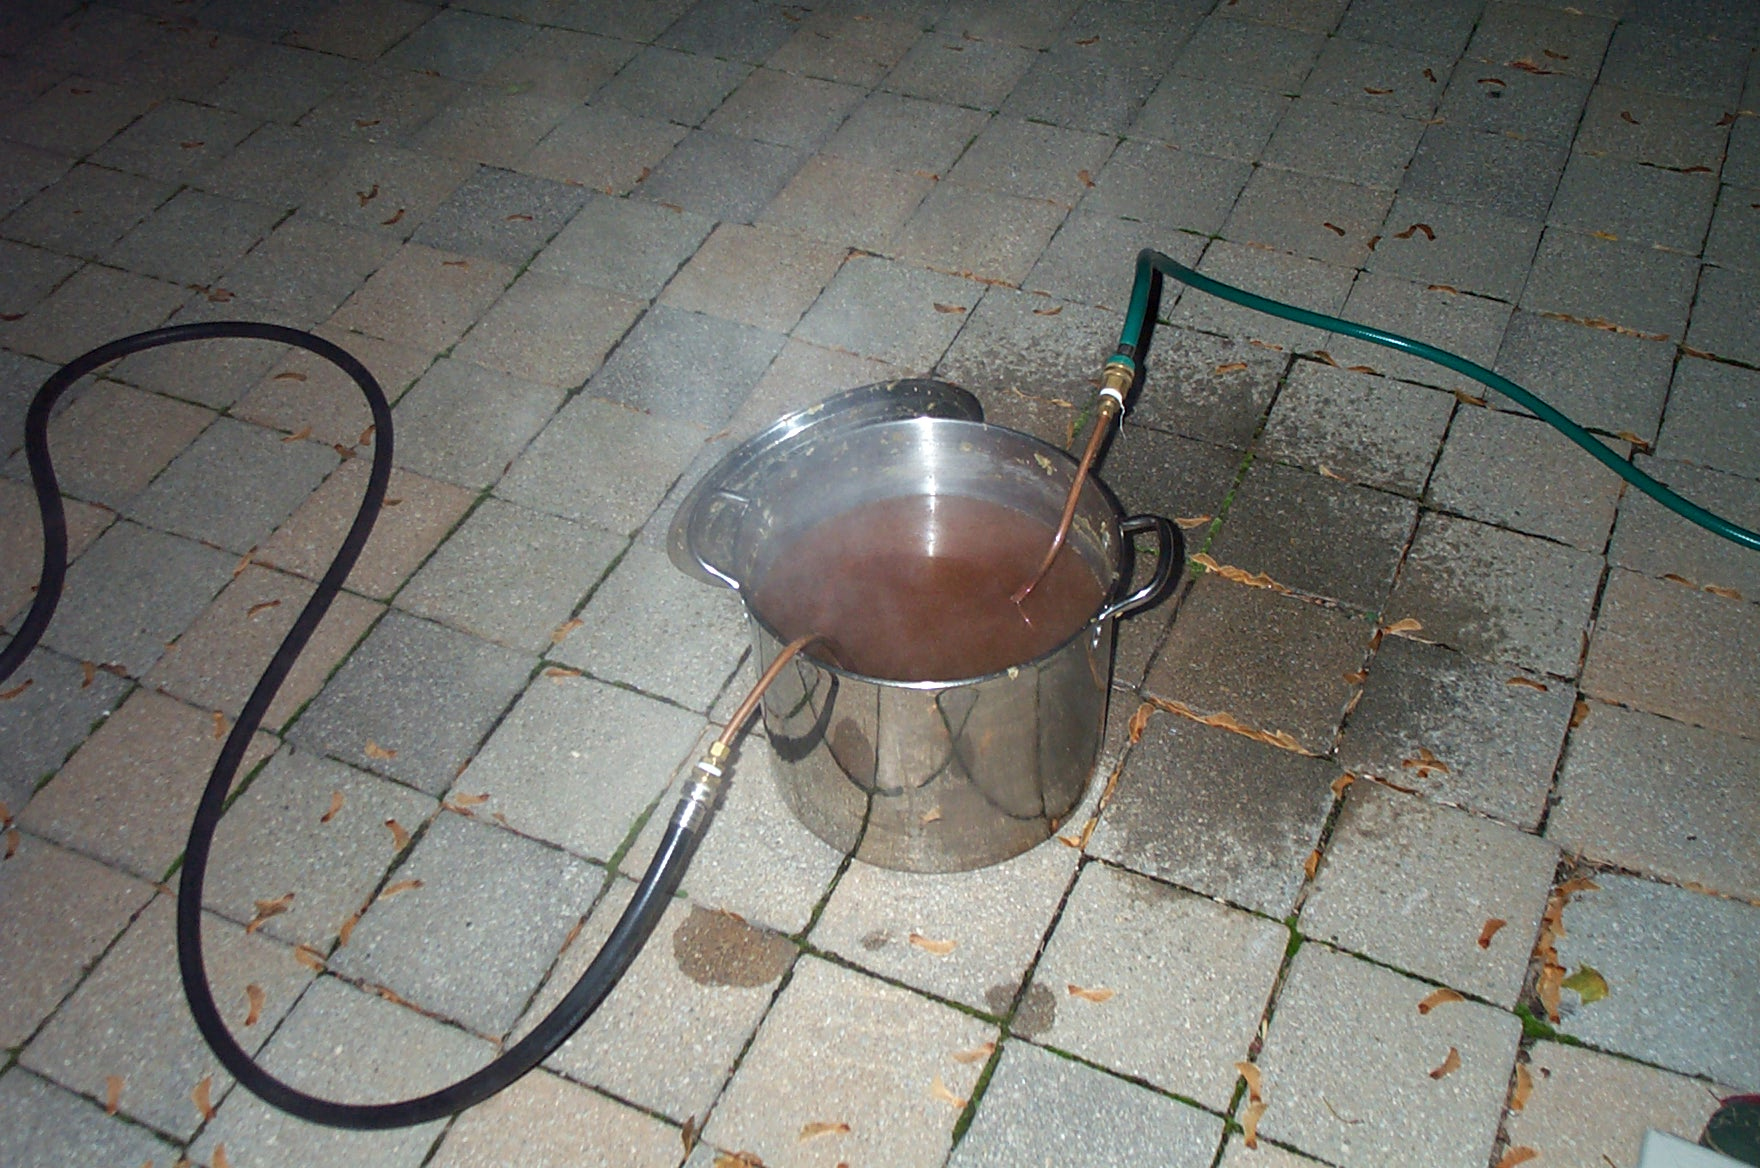
Chilling the wort. Wort is the name for the still unfermented beer. After brewing,
you need to cool the wort down to 80 degrees or so, to avoid killing the yeast. It helps to do
this quickly because as the wort cools it becomes suseptible to airborne bacteria. I use coiled
copper tubing attached to garden hoses. The cool copper tubing takes the heat with it, thus cooling
the 5 gallons of 212 degree wort to 80 degrees in about 20 minutes.
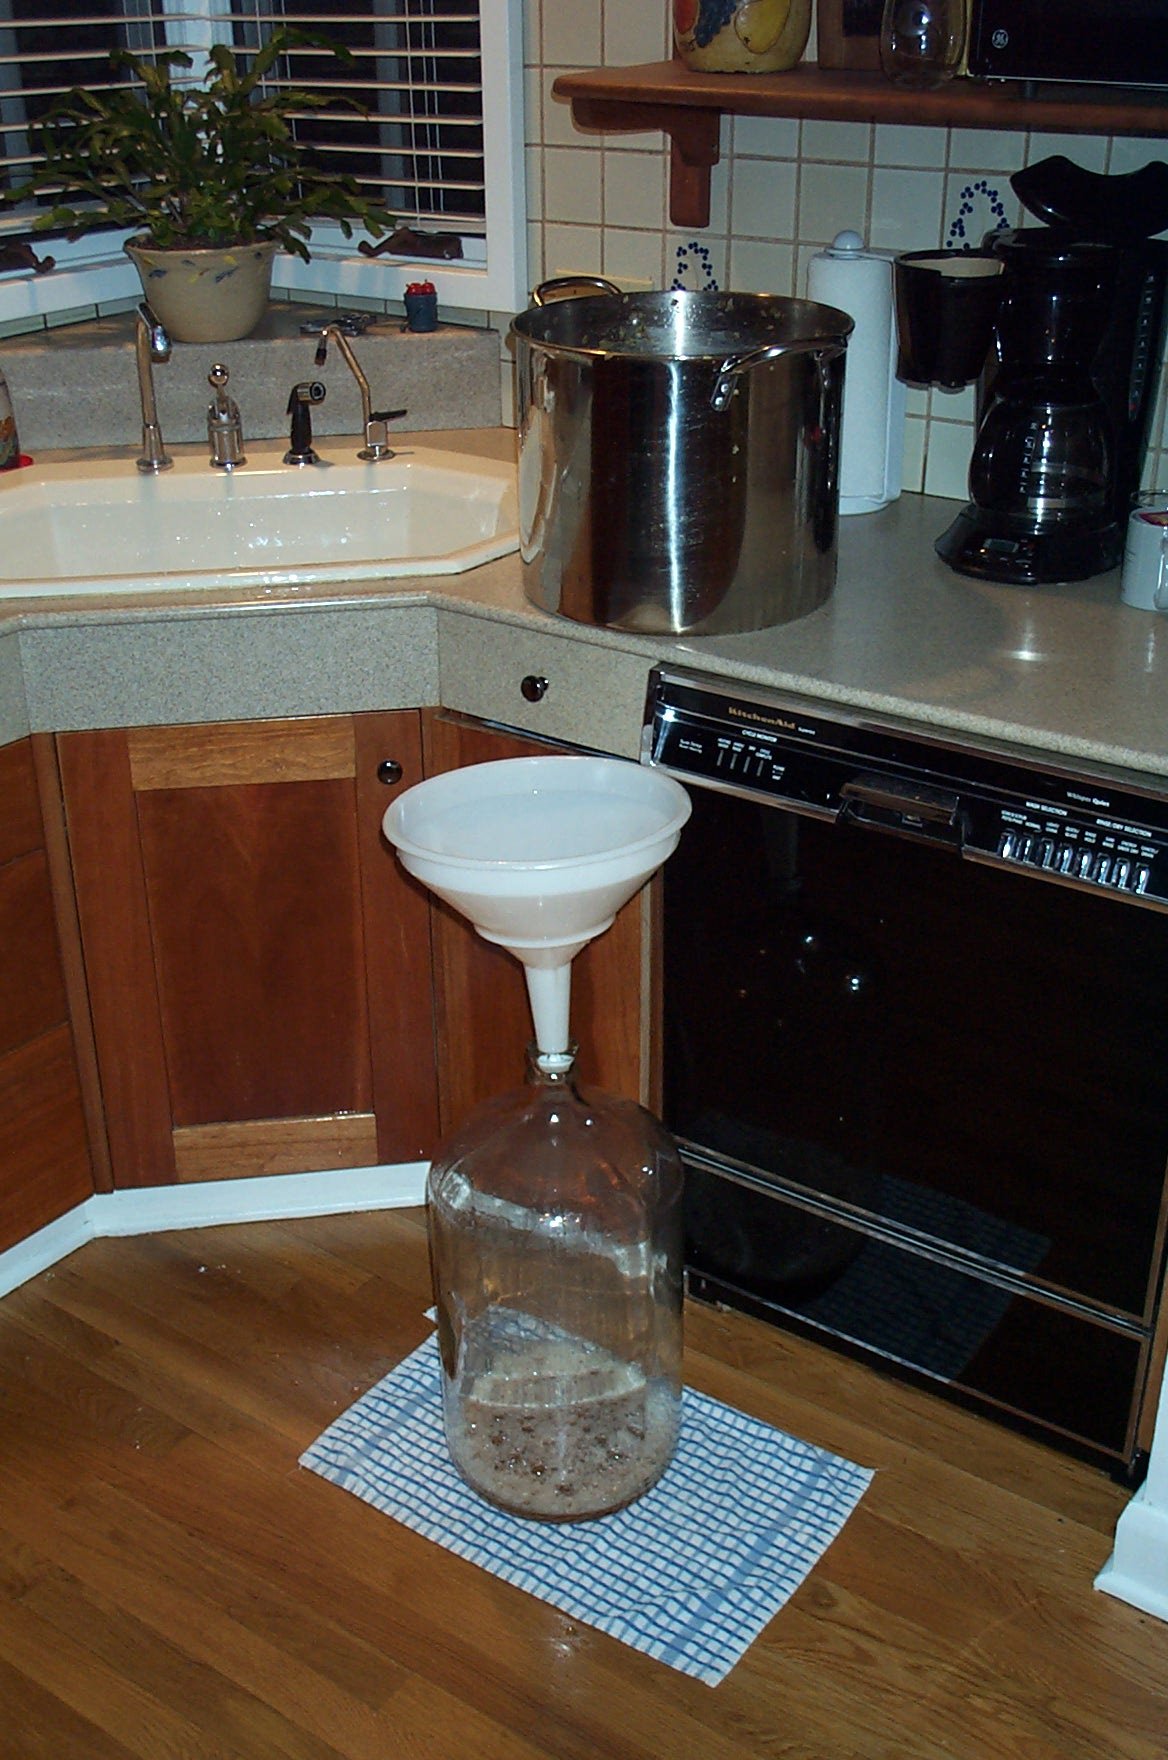
Ready to fill the fermenter. Next, transfer the cool wort into a bottle
for fermentation. Everything has to be sanitized from here out. I like to dip
the wort out with a small pitcher and pour it into the funnel. The funnel has
a filter in it to filter out remaining hops.
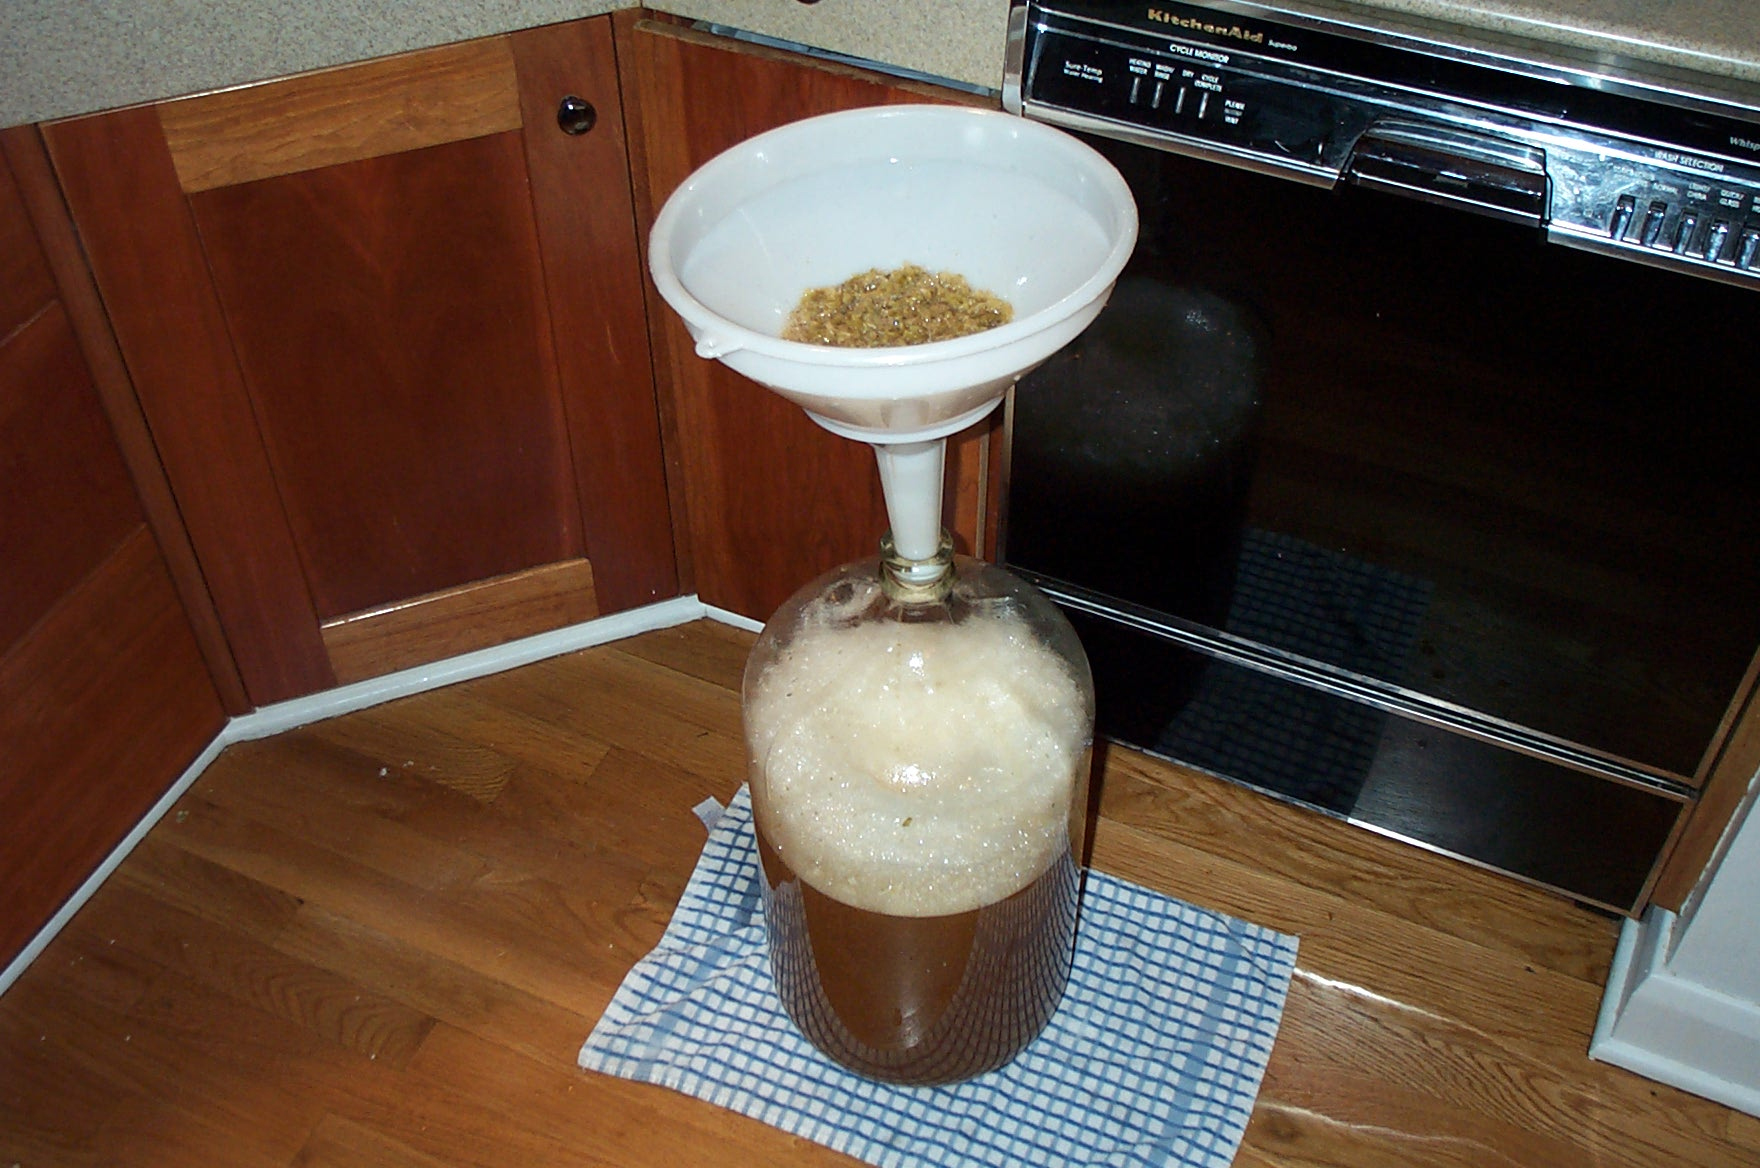
Nearly finished. Here you can clearly see the hops that are filtered out.
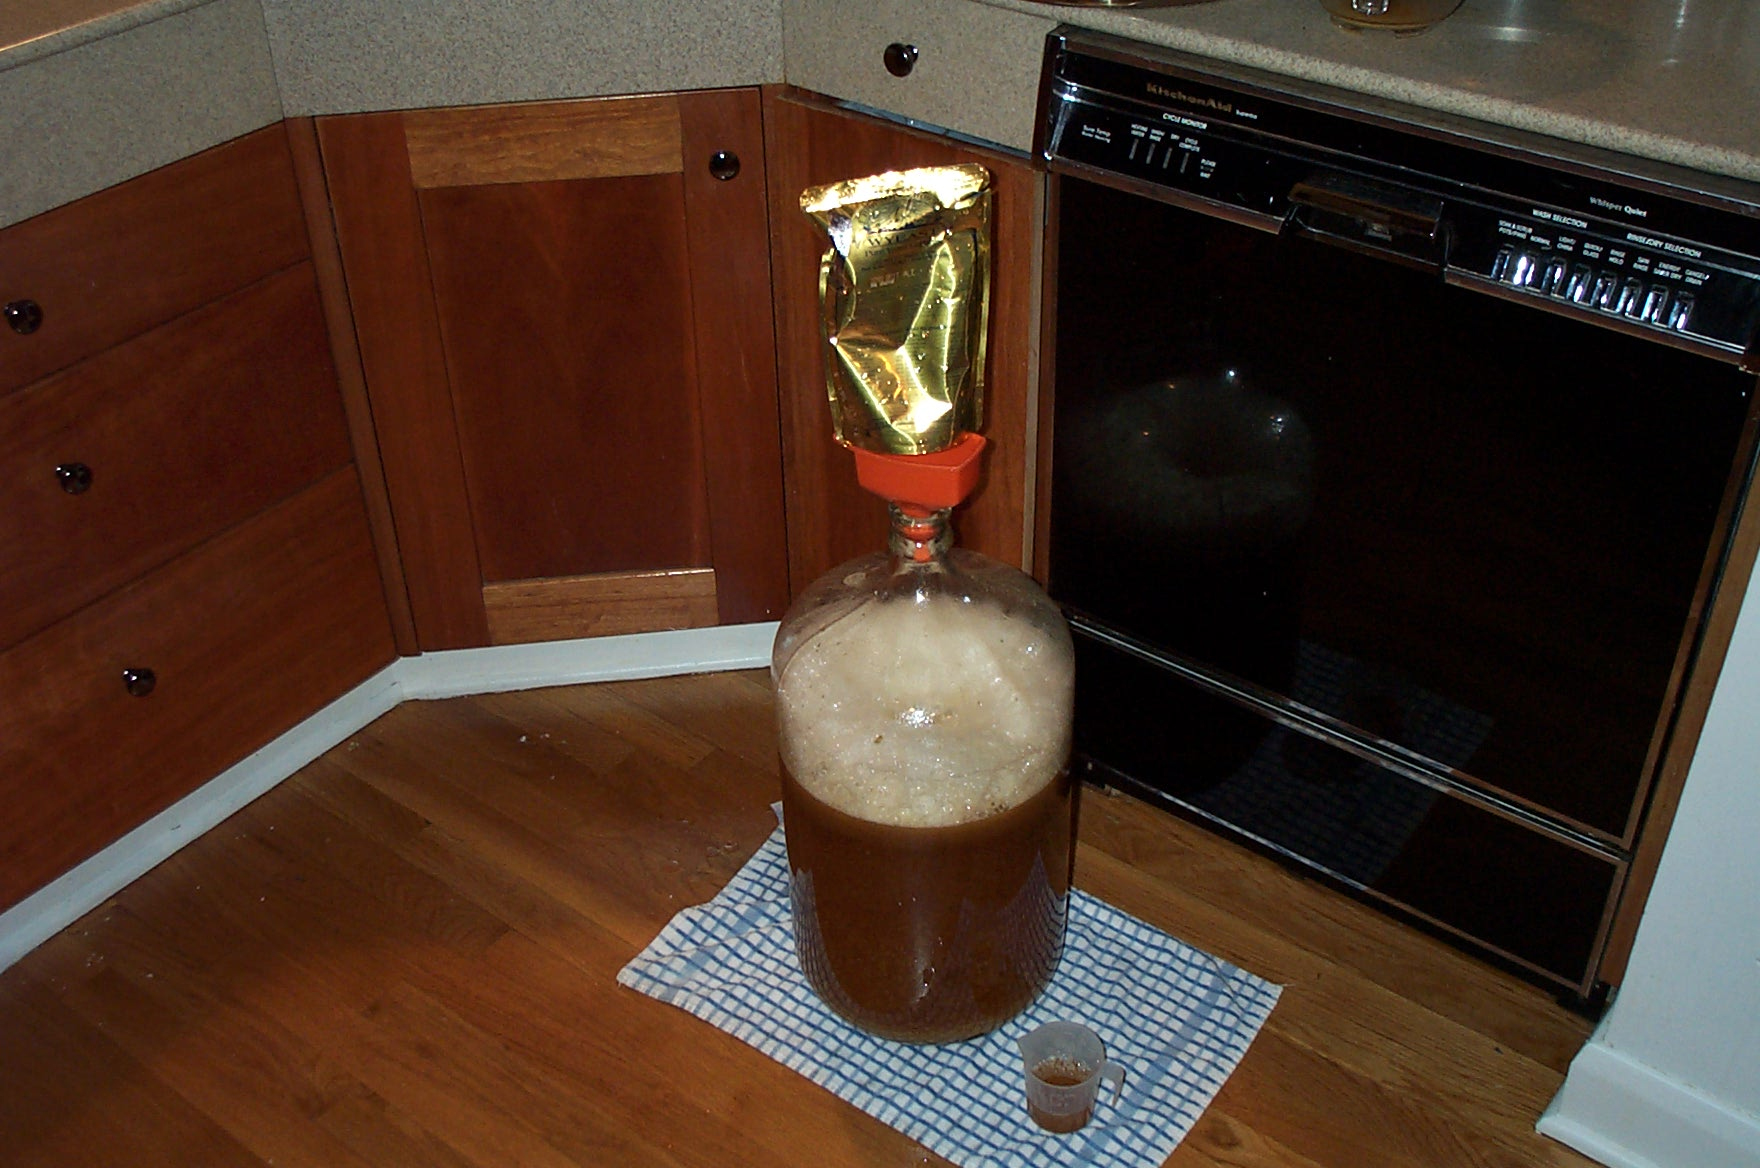
Adding the yeast. Now it's time to add this yeast, which will work the
magic of turning fermentable sugars and starches into carbon dioxide and alcohol.
I use liquid yeast, and the foil pack is just sitting there because I could
not take a picture of myself and pour the yeast at the same time! The cup on
the floor contains a sample that I'll use to measure the specific gravity.
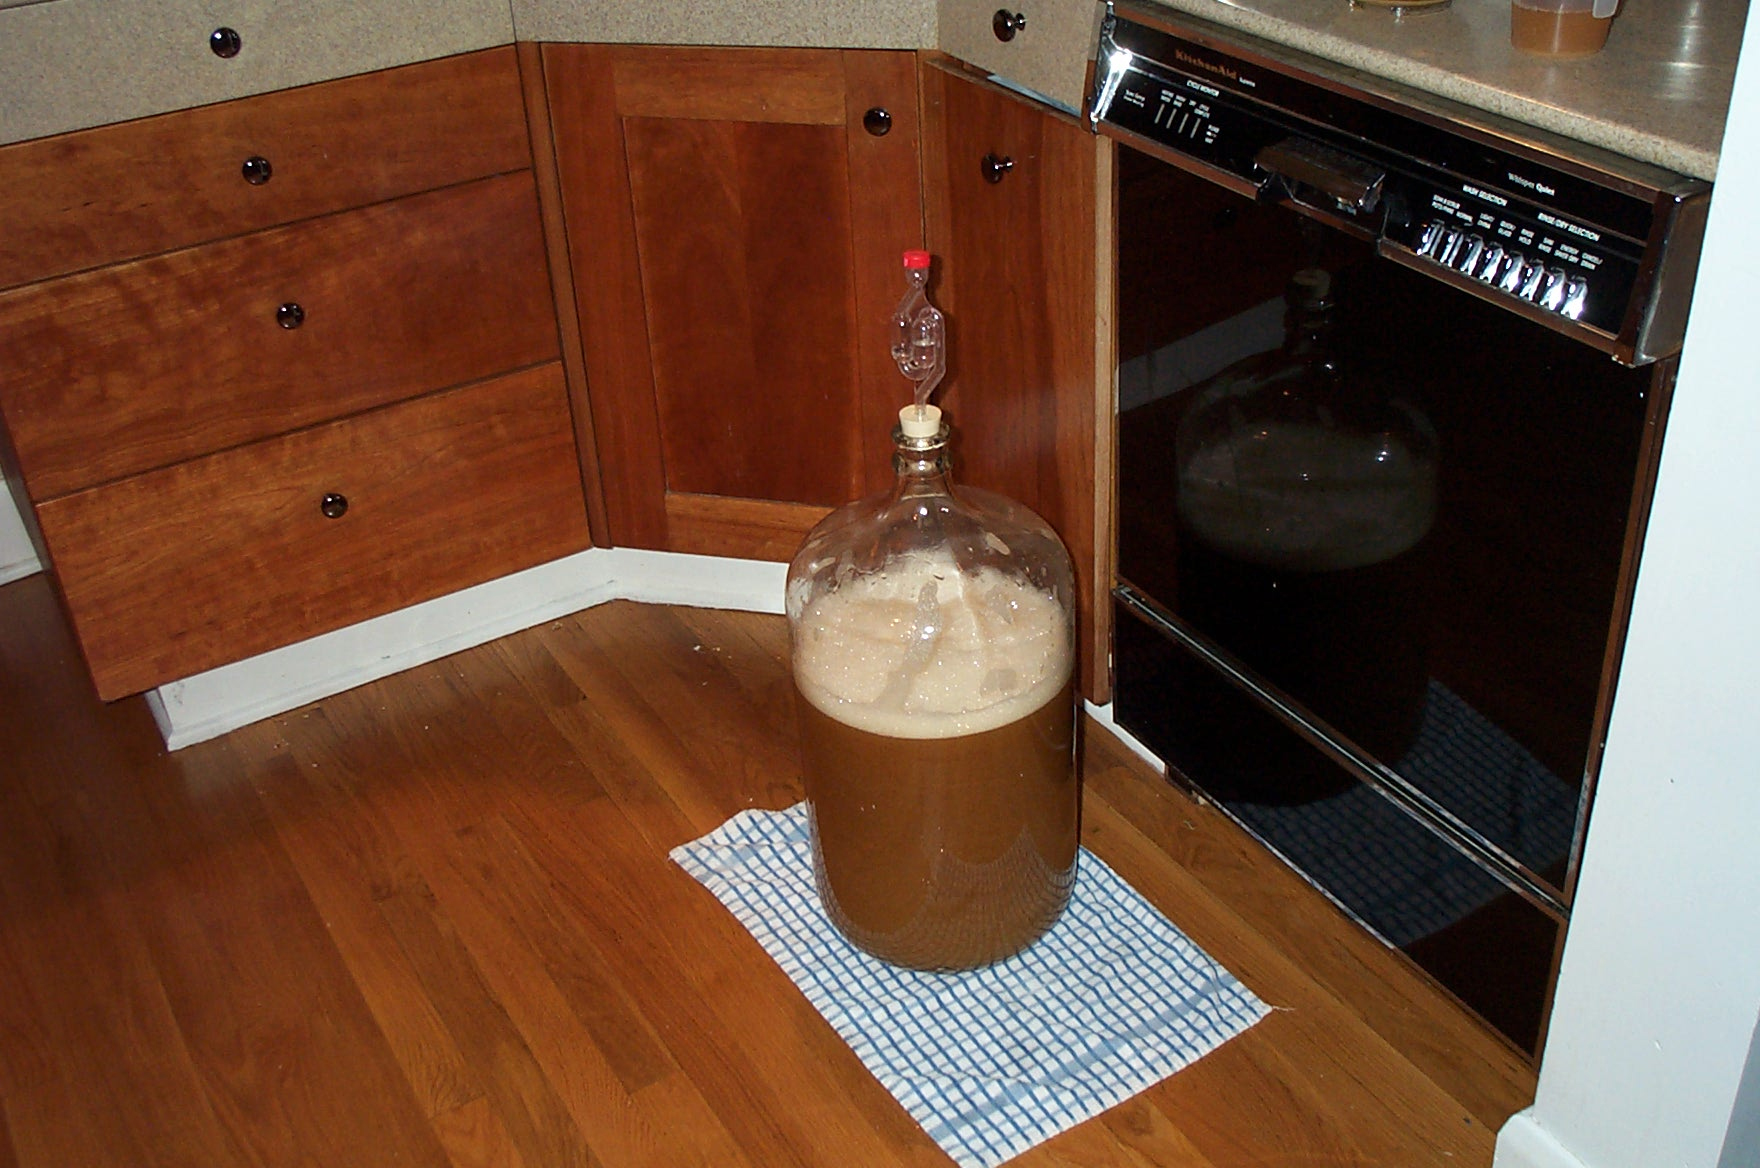
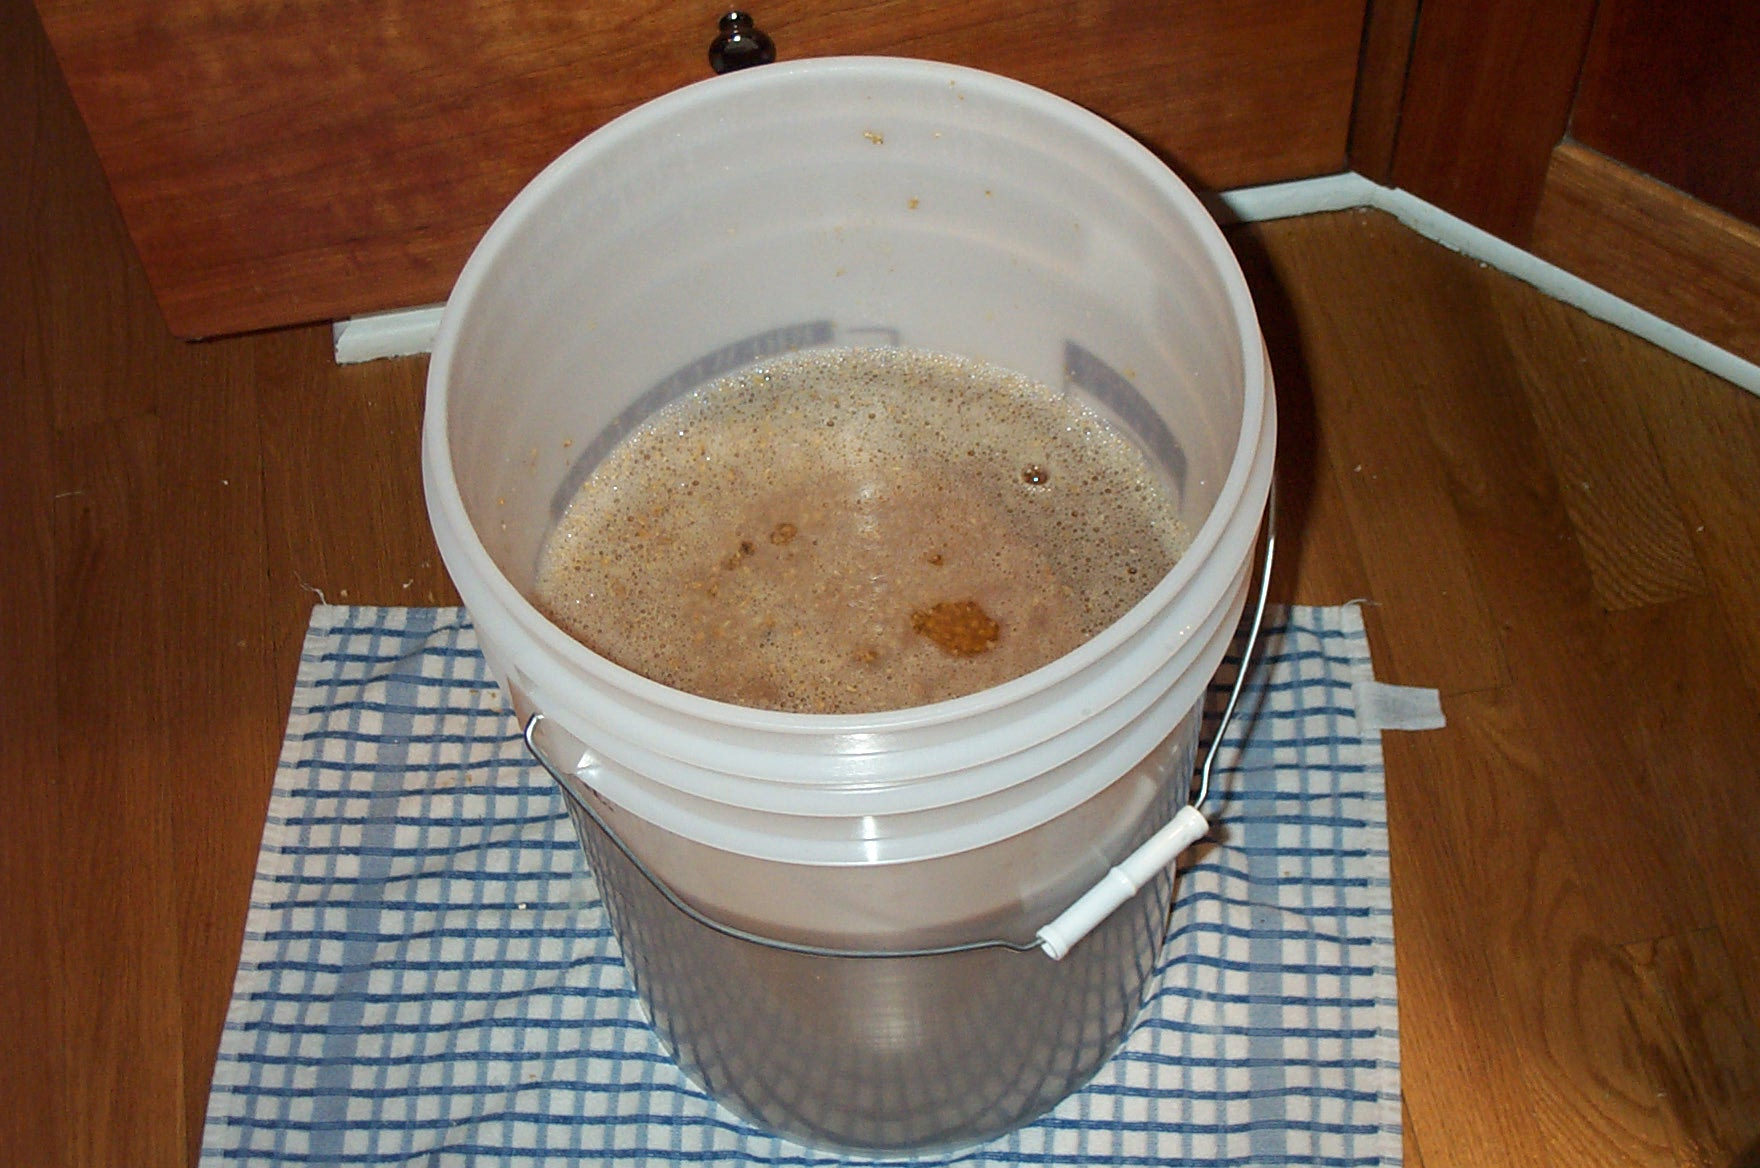
Ready to ferment.The yeast is in the wort and I've shaken it up a little to agitate and mix in
the yeast. Then put an airlock on top so the carbon dioxide produced during fermentation can vent without allowing
airborne bacteria to enter.
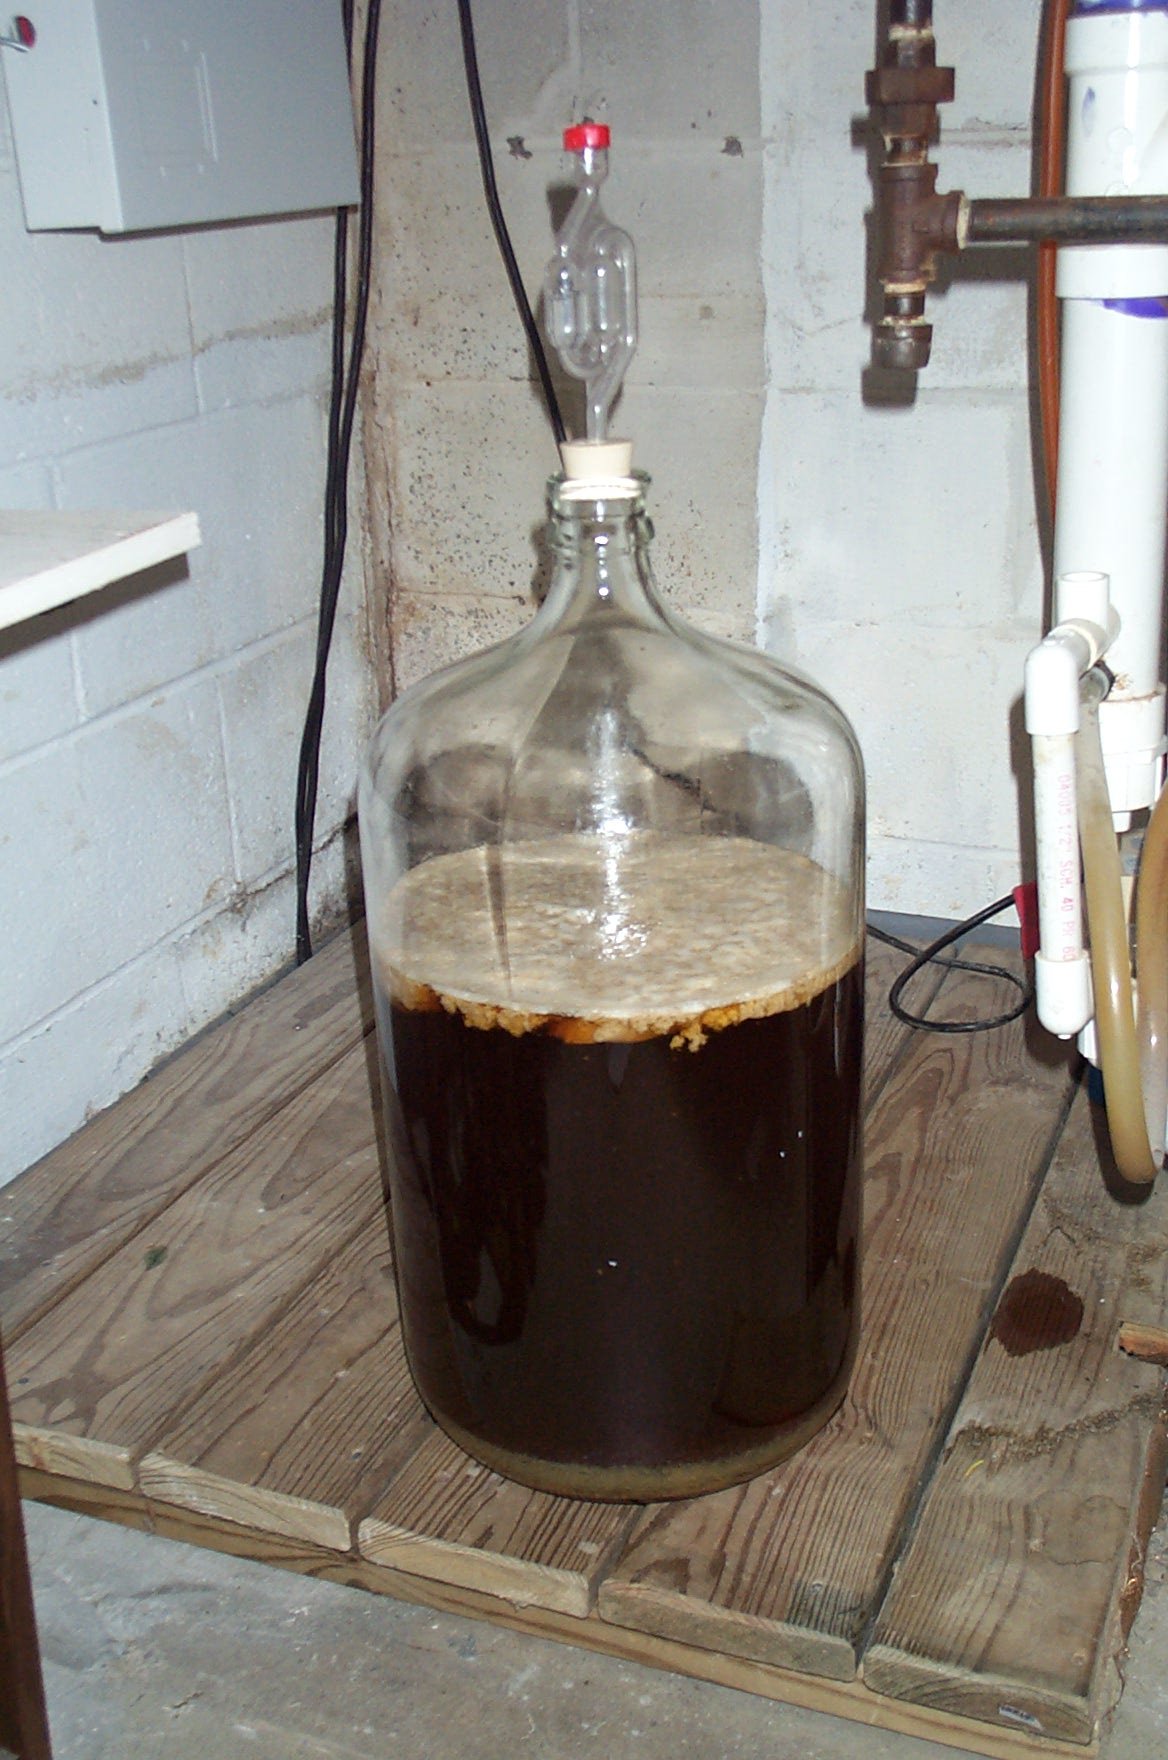
The next morning, fermenting. Here it is in the basement bubbling away. In a couple weeks it will be bottled and a couple weeks after that, ready to try!